DIY Cabin Projects: A Step-by-Step Guide to Designing and Building Your Own Log Cabin
Building your own log cabin can be an incredibly rewarding project. Not only does it provide a unique space for relaxation and recreation, but it also allows you to connect with nature and enjoy the satisfaction of creating something with your own hands. This guide will walk you through the essential steps and techniques for designing and constructing your very own log cabin.
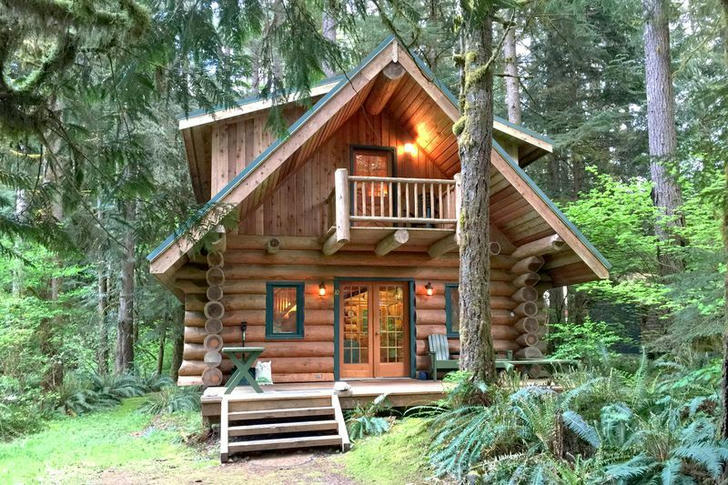
Step 1: Planning Your Cabin
Define Your Purpose
Before you start designing, consider the primary purpose of your cabin. Will it be a weekend getaway, a full-time residence, or a guest house? Understanding its purpose will help you determine the size, layout, and features you’ll need.
Choose a Location
Selecting the right location is crucial. Look for a site that offers beautiful views, access to utilities (if needed), and is compliant with local zoning laws. Ensure the land is stable and has good drainage to avoid future issues.
Create a Budget
Establishing a budget is essential for any DIY project. Consider costs for materials, tools, permits, and any professional help you might need. It is wise to set aside an additional 10-20% for unexpected expenses.
Step 2: Designing Your Cabin
Sketch Your Ideas
Start by sketching your ideas on paper or using design software. Focus on the layout, including the number of rooms, their sizes, and the overall flow of the space. Don’t forget to include windows and doors in your design.
Consider Building Codes
Before finalizing your design, check local building codes and regulations. Some areas have specific requirements for cabin construction, including safety standards and insulation regulations.
Choose a Style
Log cabins come in various styles, from traditional rustic designs to modern minimalist aesthetics. Decide which style resonates with you and fits your environment.
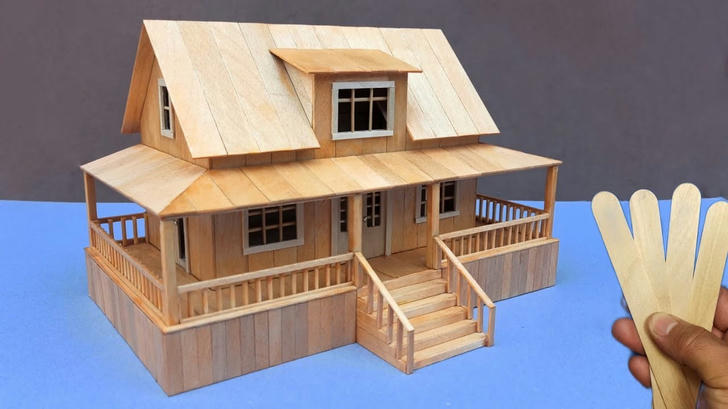
Step 3: Gathering Materials
Select Your Logs
Choosing the right logs is one of the most critical aspects of building a log cabin. Common types include pine, cedar, and spruce. Look for straight logs with minimal knots and signs of decay.
Additional Materials
In addition to logs, you’ll need other materials such as:
Foundation Materials: Concrete blocks or treated wood.

Roofing Materials: Shingles or metal roofing.
Insulation: Foam boards or fiberglass insulation.
Windows and Doors: Choose energy-efficient options to reduce heating costs.
Fasteners: Nails, screws, and brackets suitable for log construction.
Step 4: Building the Foundation
Choose a Foundation Type
The foundation type will depend on your cabin's size and location. Options include:
Pier Foundation: Suitable for small cabins on stable ground.
Concrete Slab: Provides a solid base but requires more excavation.
Crawl Space: Offers better access to plumbing and electrical systems.
Constructing the Foundation
Clear the Site: Remove any vegetation or debris.
Mark the Layout: Use stakes and string to outline the foundation's perimeter.
Excavate: Dig holes for piers or prepare for concrete pouring.
Pour Concrete: If using a slab foundation, ensure it’s level before curing.
Step 5: Constructing the Walls
Log Wall Techniques
There are several methods for constructing log walls:
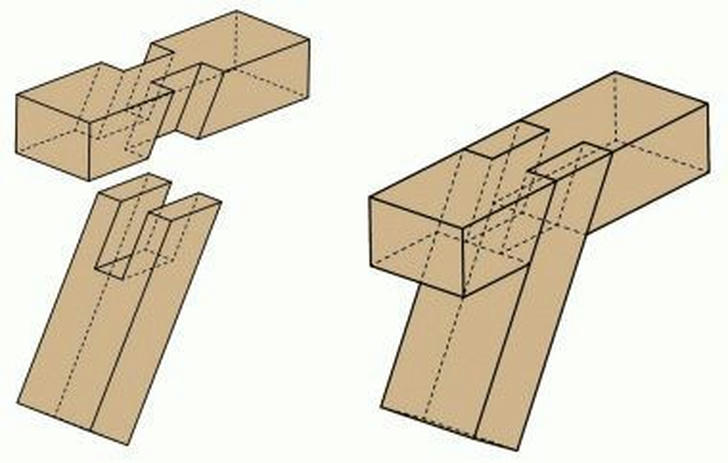
Saddle Notch: Logs are notched at each end to fit together snugly. Dovetail Notch: Provides excellent stability by interlocking logs at corners.
Full-Scribe Method: Each log is shaped to fit precisely against its neighbors.
Building the Walls
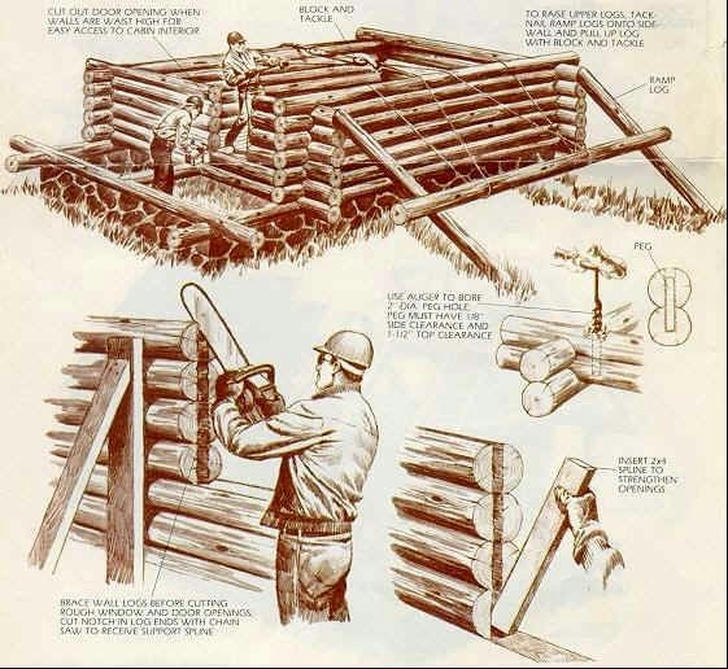
Lay the First Course: Start with the first layer of logs on your foundation.
Check for Level: Use a level to ensure each log is straight.
Secure Logs Together: Use lag bolts or wooden dowels to secure logs in place.
Continue Stacking: Repeat until you reach your desired height.
Step 6: Installing Roof and Windows
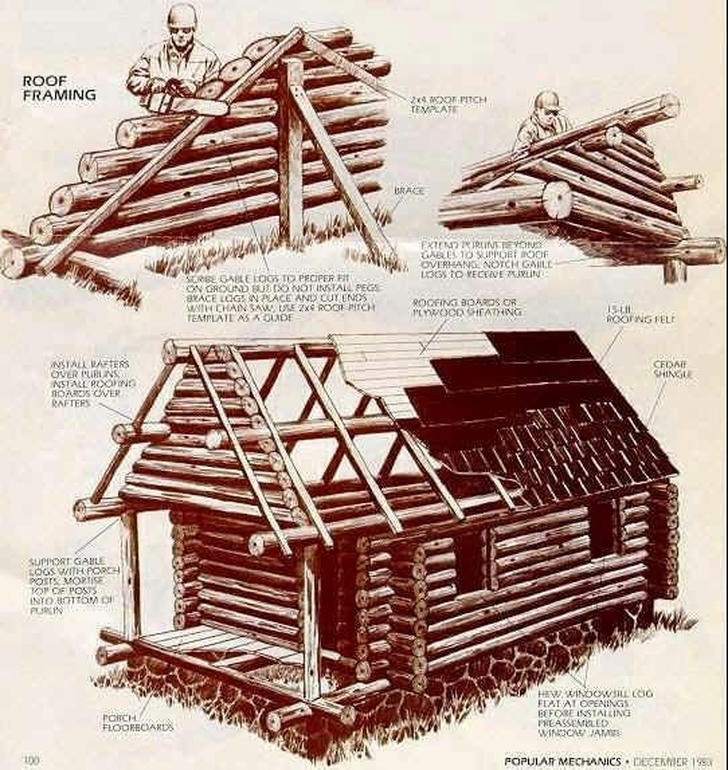
Roof Construction
Choose Roof Style: Gable roofs are common for cabins due to their simplicity.
Build Roof Frame: Use rafters or trusses to create a sturdy frame.
Install Roofing Material: Cover with shingles or metal panels.
Installing Windows and Doors
Cut Openings: Carefully cut openings in your log walls for windows and doors.
Frame Openings: Use treated lumber to frame each opening securely.
Install Windows/Doors: Follow manufacturer instructions for proper installation.
Step 7: Interior Finishing Touches
Insulation and Drywall
Proper insulation is crucial for energy efficiency:
Install Insulation: Fill gaps between logs with insulation material.
Add Drywall (if desired): For a finished interior look, install drywall over insulation.
Flooring Options
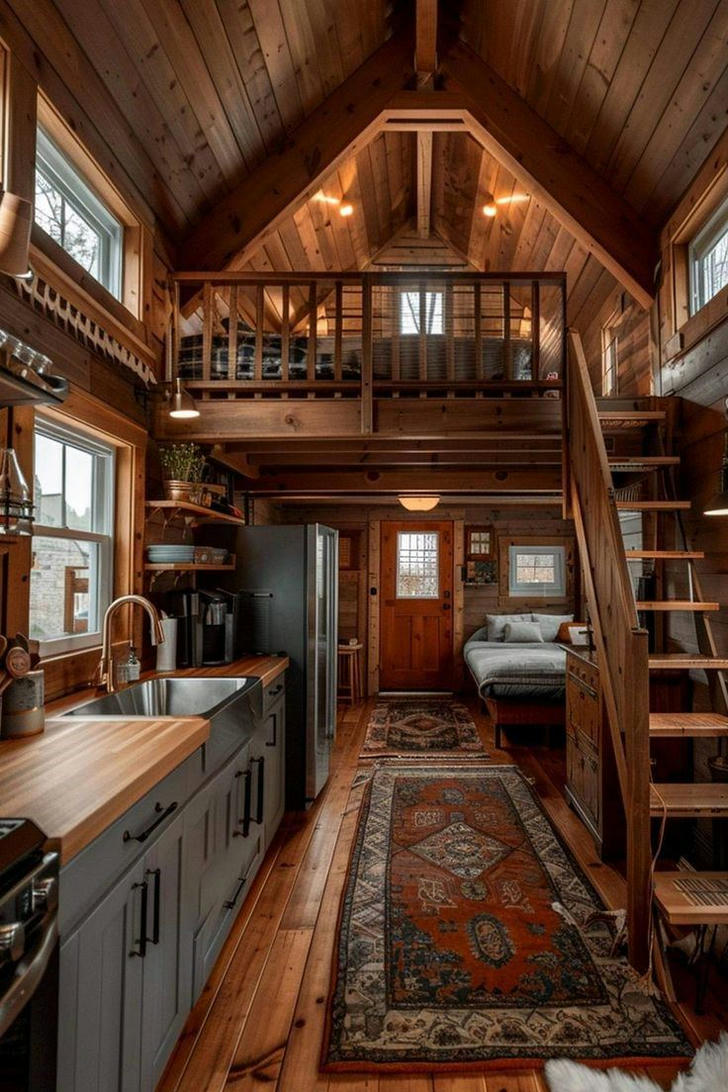
Choose flooring that complements your cabin's style:
Wood Flooring: Provides warmth and natural beauty.
Tile or Laminate: Offers durability in high-traffic areas.
Final Touches
Paint or Stain Logs: Protect logs from weathering by applying stain or sealant.
Furnish Your Cabin: Choose furniture that fits your style and space needs.
Step 8: Enjoy Your Cabin!
Once construction is complete, take time to enjoy your new log cabin! Whether it’s a cozy retreat from daily life or a gathering place for family and friends, your hard work will pay off in countless memories made in this special space.
